|
|
|
|
WHAT
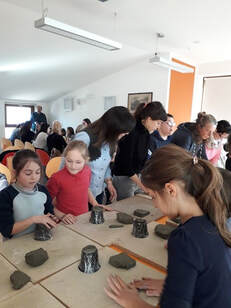
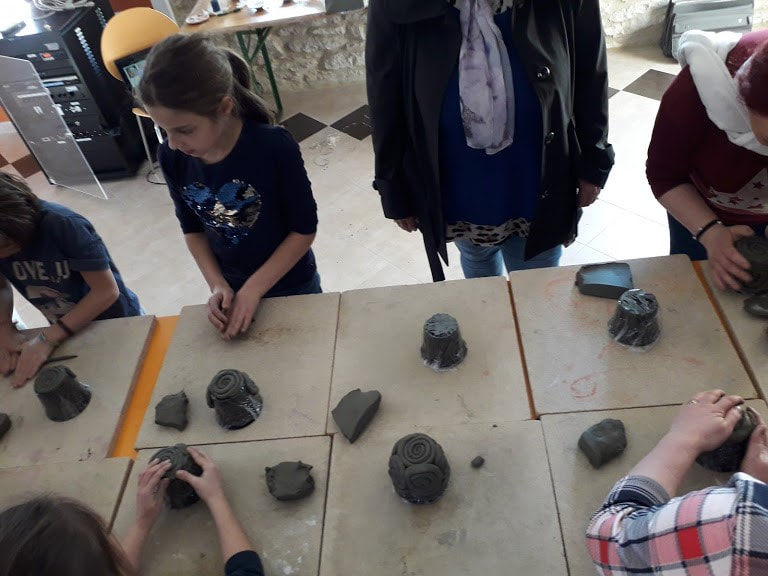
Ceramic and clay workshop
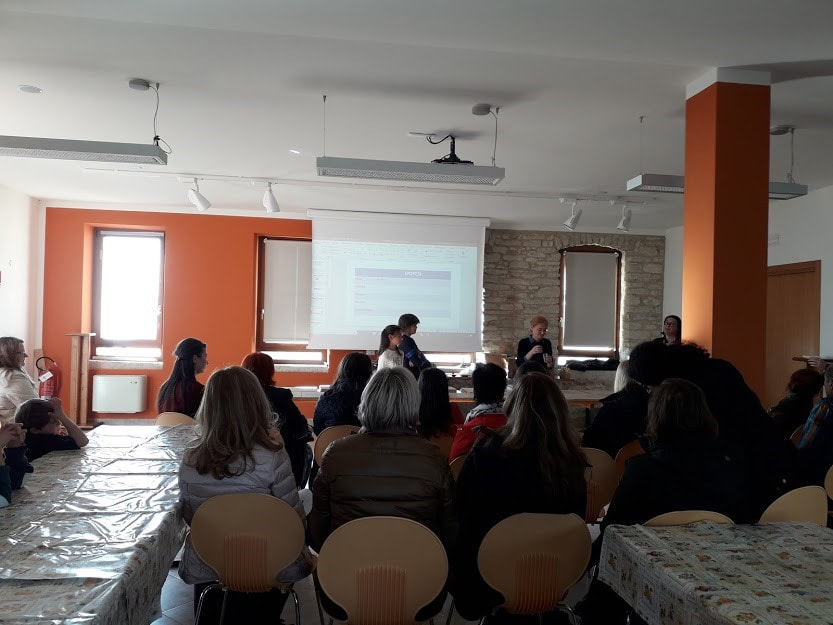
Initially the italian teachers and the pupils introduced through slides the use of clay adopted to esplain geometrical, simmetrical and phisical topics. We asked ourselves about the change of weight, color, form, volume and texture of the clay, before and after baking. |
In fact, the clay can be modified by the heat and the muscle strength.
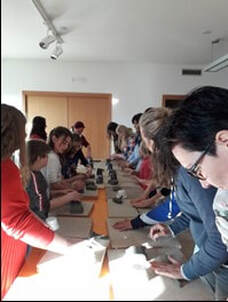
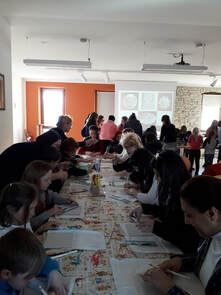
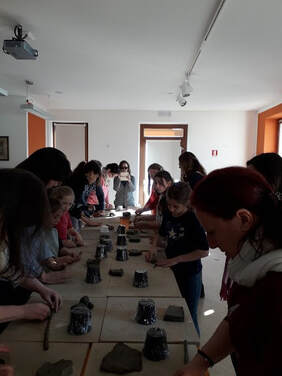
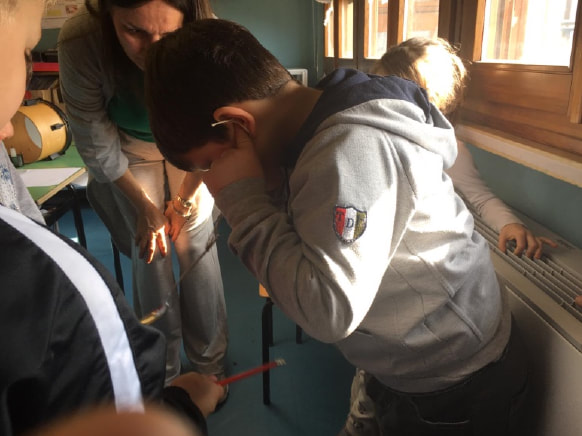
Than we worked with raw clay and the ceramic. The teachers and the pupils could scratch a little square of ceramic (not yet baked clay) with geometrical and simmetrical stencil figures or they could realize a pot or a vase with clay specific method. |
The day after the Erbezzo’s teachers baked the clay objects and gave them to the foreign teachers.
The steps of the workshop are shown below |
Ceramic workshop Hypothesis
Can the heat modify the clay?
Can the heat modify the weight, the color, the form, the volume and the texture of the clay? We can check using a scale and observing. |
|
Hypothesis
Can the muscle strength modify the clay?
Can the muscle strength modify the weight, the color, the form, the volume and the texture of the clay? We can check handling and working the clay Can we modify the ceramic? We can
|
|
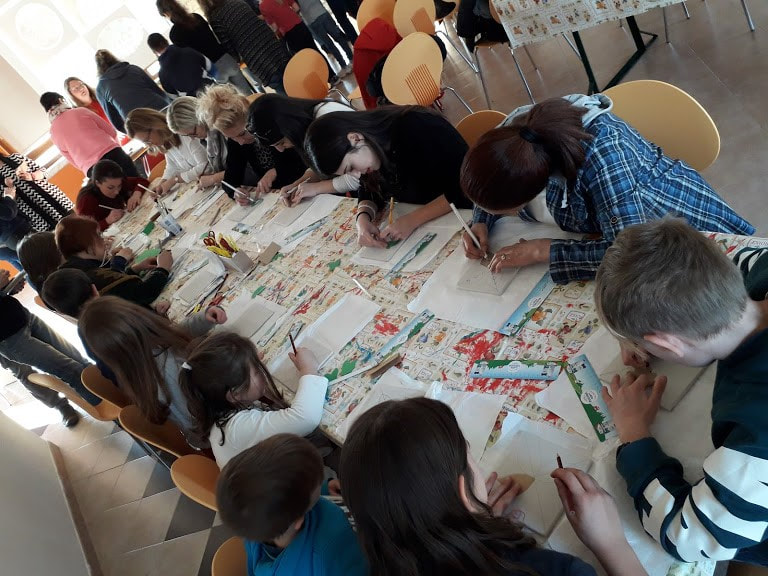
Inscribed pottery
Stages of processing.
The clay handled and dried is covered with ingobbio that is a withe clay dissolved/ melt down in the wather. Then the ingobbio is inscribed with a pointed inscrument and the ceramic needs baking at 900 degrees, so it becomes red because there are iron/ferrous residues/remains on the ingobbio. We can paint and vitrify (put a glass defence). Finally we have a second baking in the pottery oven, the colours change and the ceramic becames shiny. |
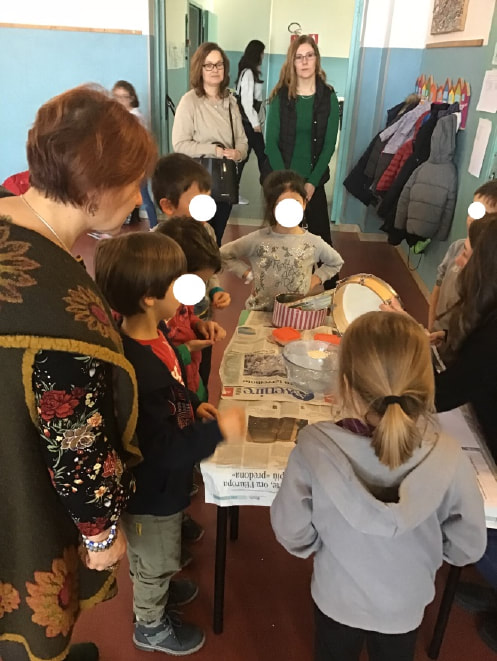
Sound Workgroup
|
|
WHAT


|
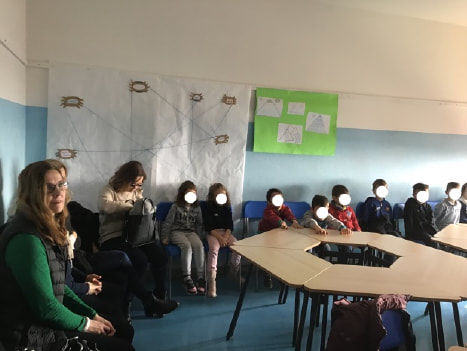
A. The teacher introduces the topic by explaining to the students how we are constantly exposed to sounds all of the time.
B. The kids play a game where they will listen to different sound effects. The goal is to recognize what soundscapes they could belong to. C. The teacher now brings the conversation to the central issue: What sense is involved when it comes to sound and noise? How does sound travel? D. The teacher prepares different stations, where kids can do 7 experiments (see attachments): 1) “The diapason sound” 2) “The tambourine which makes things jump” 3) “The triangle and the metal beater” 4) “The candle and the drum” 5) “A diapason in the water” 6) “The spoon and the rope” 7) “A fork between teeth” |
|
The diapason soundWe need:
• a diapason • a metal beater • a wooden box What to do: 1. Beat the diapason with a metal beater 2. What do you feel? 3. Beat the diapason once again with a metal beater 4. Place the diapason stood on the wooden box 5. What’s happening? |
|
The tambourine which makes things jump!You will need:
• a tambourine • a drum beater • salt • sawdust • rice • a bucket • plastic wrap What to do: 1. Cover a bucket with plastic wrap and make sure the wrap is tight 2. Place the sawdust on the wrap 3. Beat the tambourine with a drum beater 4. Try the other things (salt, rice) out 5. What’s happening to the things you put on the wrap? |
|
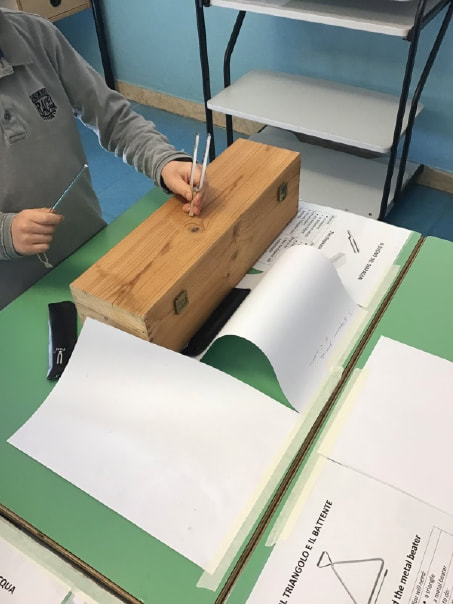
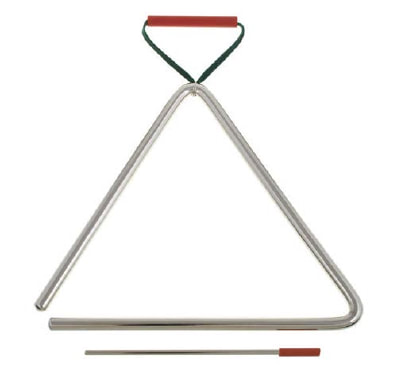
The triangle and the metal beater
You will need:
• a triangle • a metal beater What to do: 1. Hold the triangle from the noose 2. Hit the triangle with a metal beater 3. What do you feel? 4. Hit the triangle again and touch it lightly straight away 5. What do you feel now? 6. Hit it once again and hold the triangle on tight with your hand 7. What does it happen? Why is that? |
|
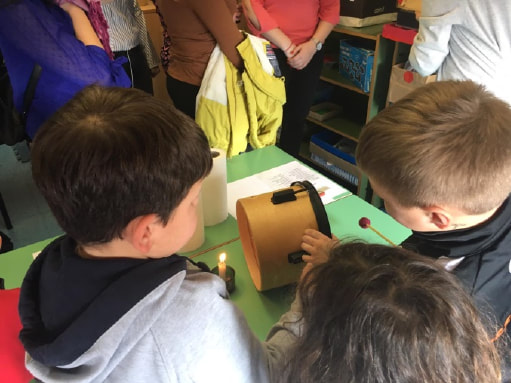
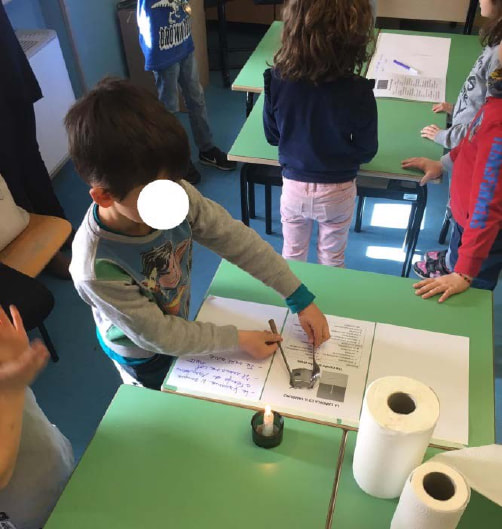
The candle and the drum
You will need:
• a candle • a little plate/ something to place the candle on • a drum • a drum beater What to do: 1. Light a candle 2. Beat the drum with a drum beater 3. Stay close to the candle 4. Observe 5. What’s happening to the candle? |
|
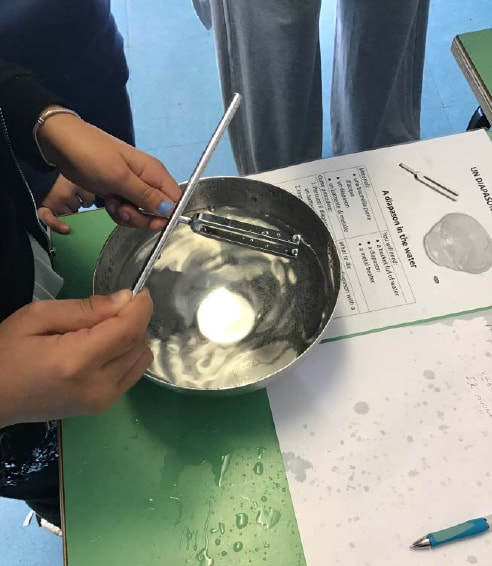
A diapason in the water
You will need:
• a bucket full of water • a diapason • a metal beater What to do: 1. Hit the diapason with a metal beater 2. Partly immerse it straight away 3. Watch 4. What’s happening in the water? |
|
The spoon and the rope.
We need:
• a metal spoon • a rope What to do: 1. Tie the rope around the spoon handle so you can wrap the two ends around the hand indexes 2. Make the spoon beat against the edge of the table 3. What do you hear? 4. Now have the spoon beat the table again 5. Thread the index fingers into the ears 6. What do you feel now? Why is that? |
|
A fork between teeth!
We need:
• a metal fork • a metal beater What to do: 1. Take the fork 2. Beat the prongs with a metal beater 3. What do you hear? 4. Hit the fork again 5. Squeeze between your teeth 6. What do you feel now? Why is that? |
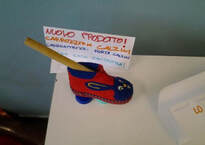
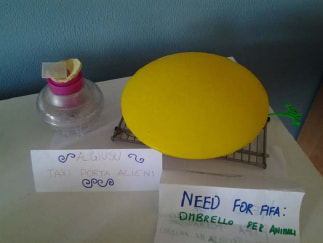
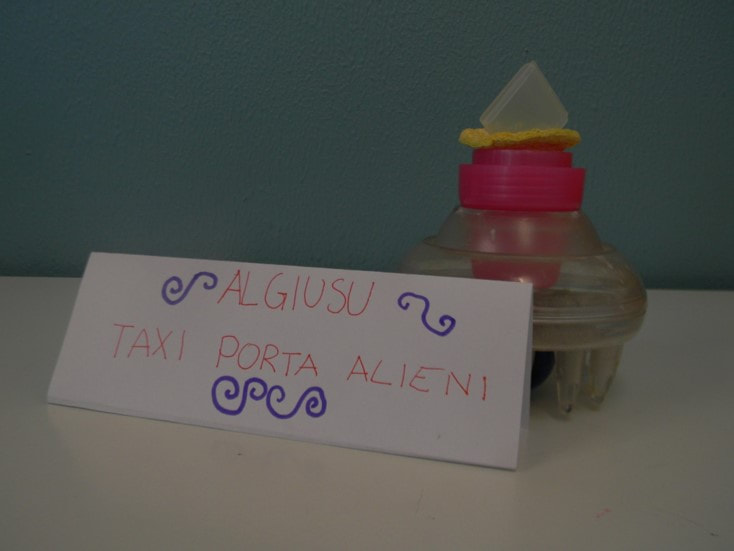
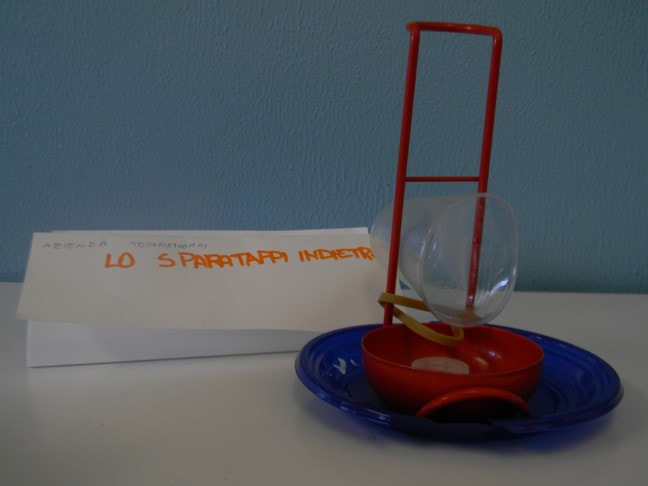
Useless Machines


|
|
WHAT
|
PREPARATION
A. Formation of groups (boys and girls separated). B. Teacher tells the kids the aim of the workshop. C. Instructions are given to the kids, phase by phase D.A blank sheet is given to each group LET'S SELECT THE OBJECTS A. Each group chooses a speaker, who will also be the group leader B. The group leader chooses up to 5 objects C. He/ she will share his/ her choice with the other group members ---> All of this has to be done in 5 minutes |
|
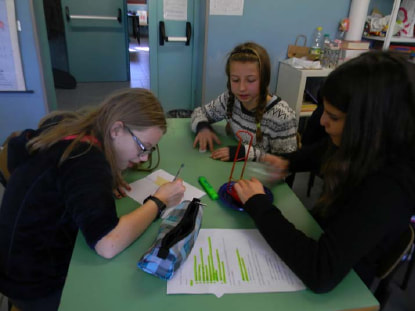
FIRST PHASE1. Kids in each group will decide their group name, which will be written on a piece of paper.
2. Groups will design the machines and build them 3. When the useless machines are finished children need to name them and find them a function ---> All of this has to be done in 20 minutes |
|
SECOND PHASE1. Each group write down how their machines have been built (building instructions) and their functions on a paper
2. The group will fold the paper over the information about their machine so the next group cannot see 3. Each group gives its machine and the related paper to the next group (counterclockwise) 4. The groups receiving the items the original group will come up with their own name and function for the machine 5. The group will fold the paper over their answers so the next group cannot see 6. Next, the group will take the machine apart and write down building instructions for the next group to use. 7. The group will pass the items over to the next group. ---> All of this has to be done in 15 minutes |
|
THIRD PHASE
1. The kids will have to rebuild the machines, following the building instructions they were given by the previous group
2. The group will then name their machine and give it a function, which they will write on a piece of paper ---> All of this has to be done in 15 minutes • In the end each machine goes back to the group it belongs to • Then each group will read its paper and there will be a discussion about the different interpretations |
|
FOURTH PHASE
• Each group will now have to promote its machine by creating an advertisement
• Each group’s speaker has to prepare a sign with his group’s and machine’s names on it • Each group will advertise its machine in front of everyone |
|
CONCLUSIONS
• To conclude the workshop, children will talk about their thoughts of the activity through a discussion
• All of the comments and thoughts will be written down on a piece of paper |
My Growing up
|
|
WHAT
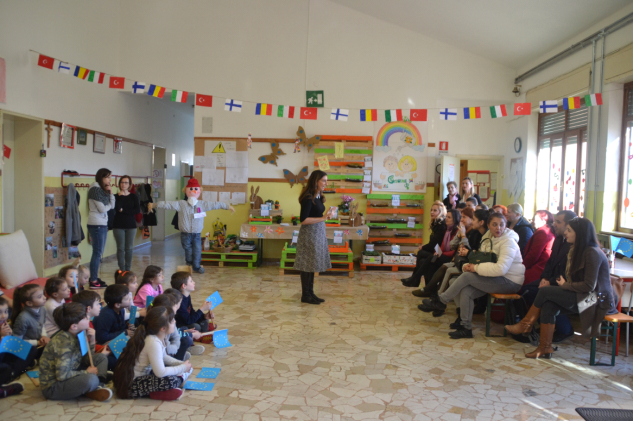
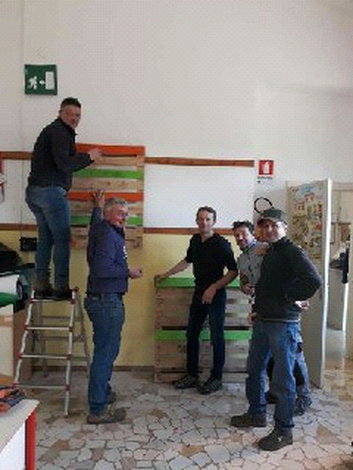
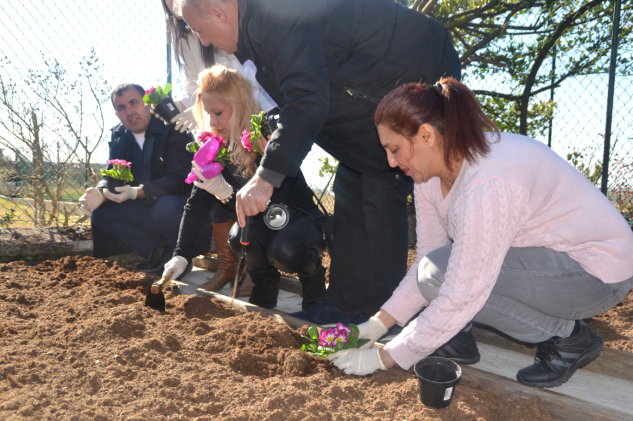
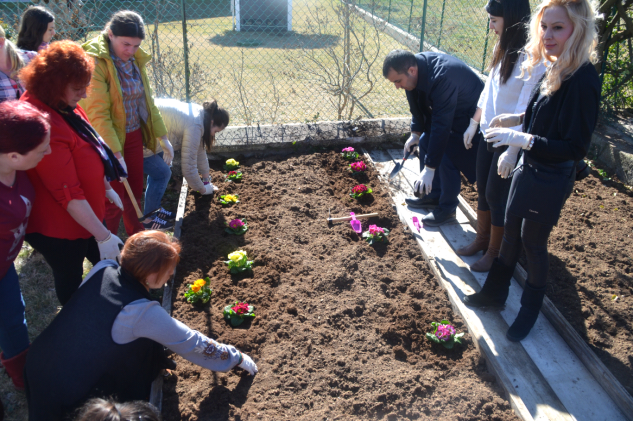
1. We set up a greenhouse inside the school.
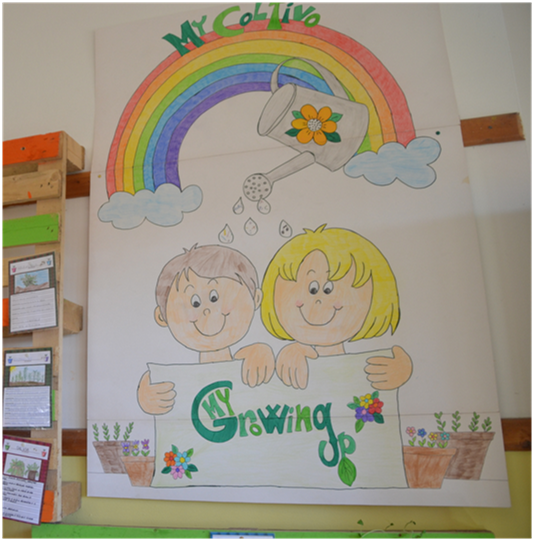
2. We study a logo and a slogan for our project. We prepare the technical sheets of all seeded seedlings (name, drawing, sun, temperature, irrigation, fruits, diseases);
3. We set up a space in the garden to accommodate our plants.
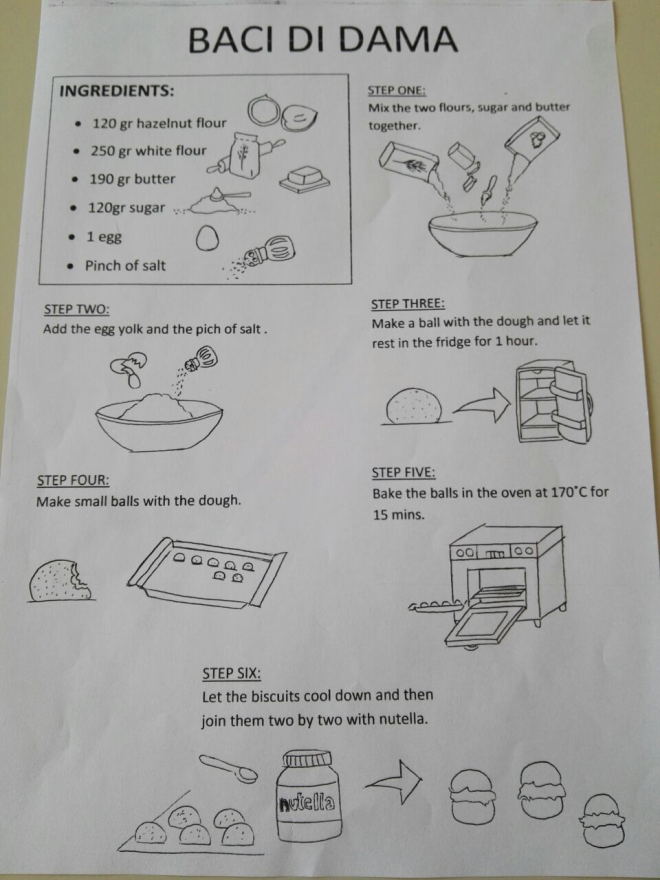
4. We choose a typical Italian recipe that has among its ingredients a natural product of our area. We choose the "Baci di Dama" because they contain flour and hazelnut cream.
5. Let's do the general tests and cook the "Baci di Dama".
6. We buy primroses that we will plant in our garden by our guests
2. We study a logo and a slogan for our project. We prepare the technical sheets of all seeded seedlings (name, drawing, sun, temperature, irrigation, fruits, diseases);
3. We set up a space in the garden to accommodate our plants.
4. We choose a typical Italian recipe that has among its ingredients a natural product of our area. We choose the "Baci di Dama" because they contain flour and hazelnut cream.
5. Let's do the general tests and cook the "Baci di Dama".
6. We buy primroses that we will plant in our garden by our guests

|
|
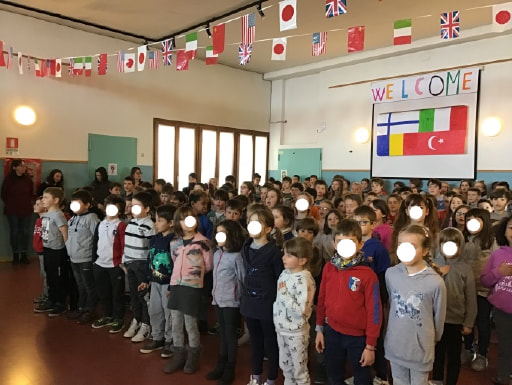
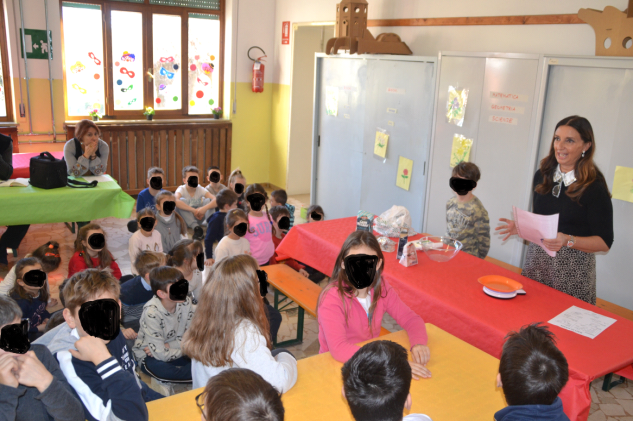
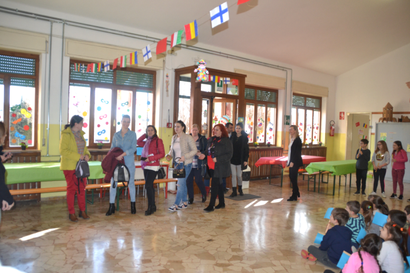
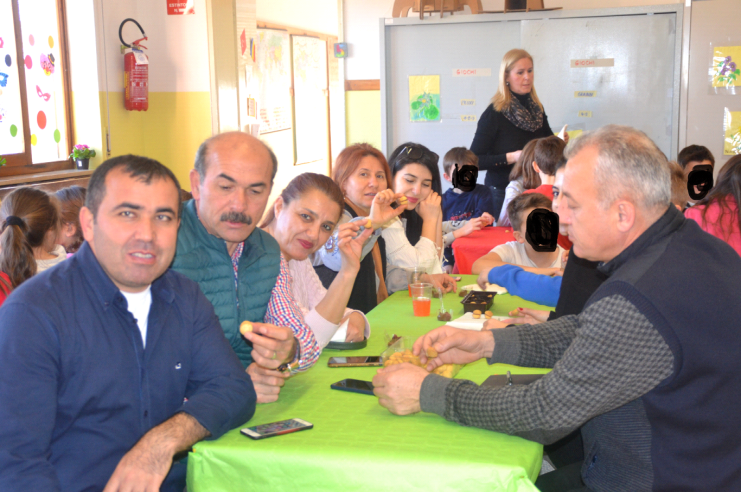
7. We are ready to welcome our guests
|
|

|
|
WHAT
|
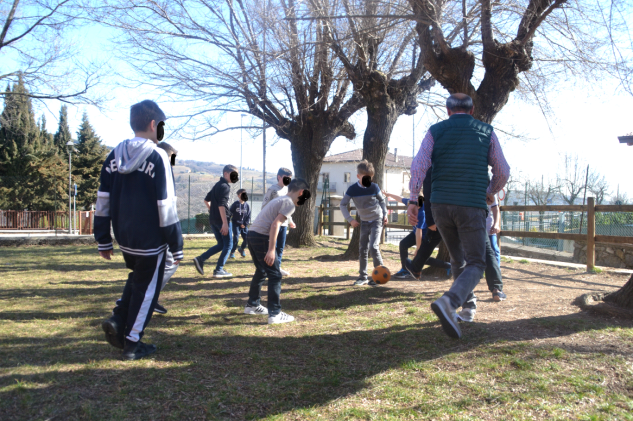
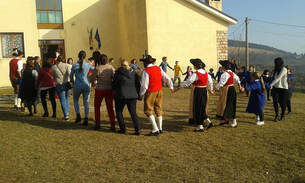
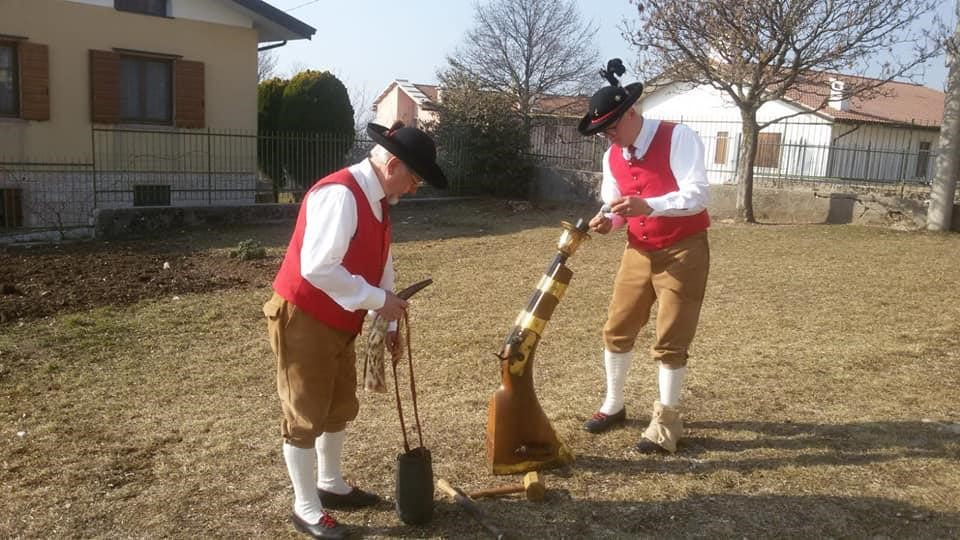
The activity concerned the ancient people who lived in San Mauro. Some people were wearing Cimbrian clothes and showed an ancient weapon called “trombini”.
These people showed and taught us the Cimbrian folk dances. The children's grandparents prepared us the snacks with some typical Cimbrian foods. |
|
|
WHAT

|
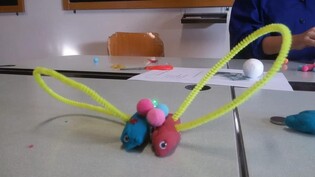
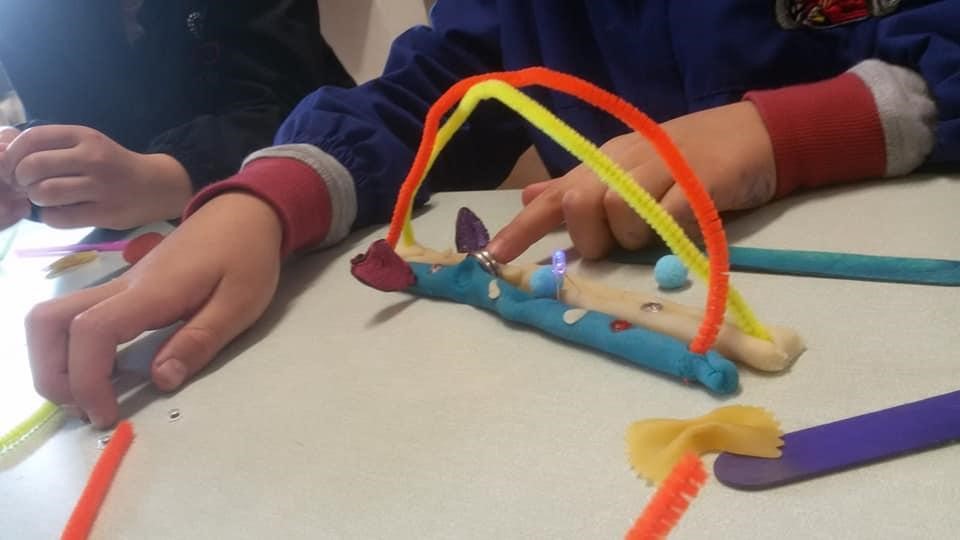
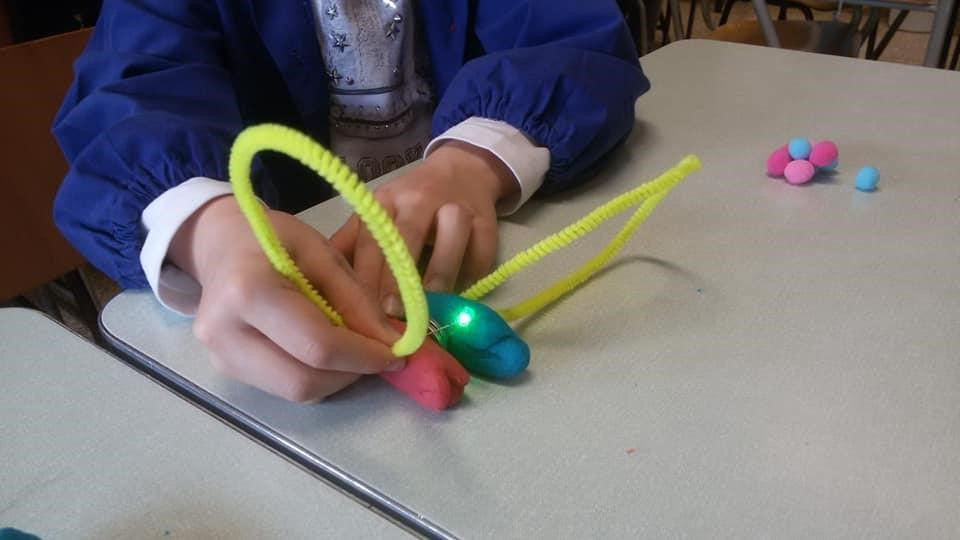
The workshop was about the electricity for children.
I explained how to turn on a LED with a simple battery with little power and to entertain students. Then we created an electrical circuit without using wires, but with conductive play dough. This workshop helped people build an animal, a monster, something creative where some parts of the body were illuminated by LEDs. 
|
How to use what has been learned?

|
|
|
March-May 2020
|
WHERE
|
Pupils and teacher each in their own homes connected online through Google Meet
|
WHO
|
Teachers: Math teacher
Students and their parents as helpers |
WHAT
Mathematical equivalences in the kitchen
The teacher sends the students the e-mail recipe of a dessert with all the doses of the ingredients to be transformed into grams as they are expressed in kilos, hectograms, milligrams and so on. Pupils must complete the equivalences and send them to the teacher. In the end we are all online to make the cake.
The teacher sends the students the e-mail recipe of a dessert with all the doses of the ingredients to be transformed into grams as they are expressed in kilos, hectograms, milligrams and so on. Pupils must complete the equivalences and send them to the teacher. In the end we are all online to make the cake.
